Setup Your Site In CloudEngage
These instructions will walk you through the process of adding your site to CloudEngage. This is a first step to using any of the CloudEngage products.
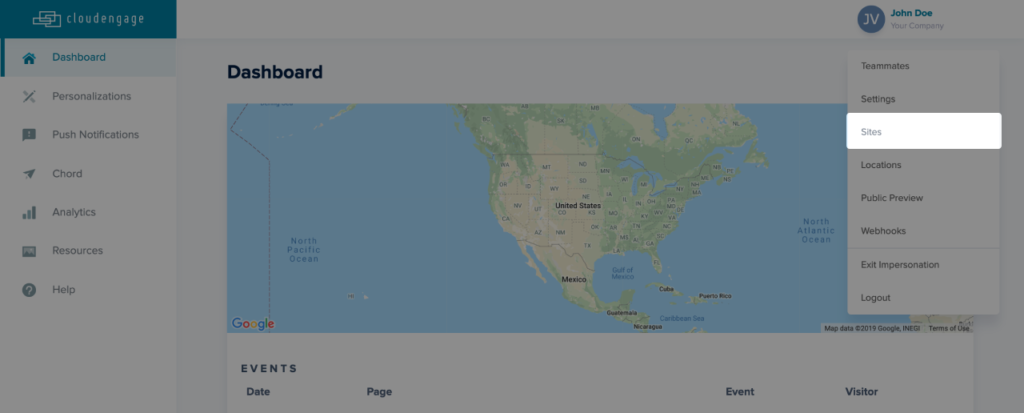
Begin by logging into your CloudEngage account and navigate to Sites in the top-right menu.

In the resulting screen, click the + New Site button and you’ll be directed to a field within which you can enter your website URL. Note that the field will automatically strip any unnecessary parts from your website URL. Once done, click Save to finish up.
Related Articles
CBT News: Dealership geo-fence marketing
Location, location, location! It is usually the difference between a shopper looking for an off road capable 4×4 or a city dweller in need of an eco-friendly Nissan Leaf.
CloudEngage Acquires AnswerDash, Leader in AI powered Self-Service Support
We’re thrilled to announce that we’ve acquired Seattle-based AnswerDash, expanding our suite of offerings to Include AI powered self-service support SPOKANE, Wash., AND SEATTLE, Wash., June 23rd, 2020. Our entire team recognized the fit with AnswerDash was terrific....
Subscribe & Follow
Join Our Newsletter
Subscribe to our email list for news and offers. Follow us on social media.
