CloudEngage 11 – ActionPop & New Modal Editor
CloudEngage 11 introduces a major new feature, ActionPop, as well as a complete redesign of the Content Editor, which offers more creative design options for truly engaging offers.
ActionPop interactive offers
ActionPop is a powerful and simple way to increase customer engagement by adding an interactive layer to your content. Because it requires interaction, customers engage with ActionPop content more than a normal promotion. And because they’ve “worked” for it, they naturally feel a greater ownership of offers. Read more here about how to use ActionPops to improve your conversion rate
Read on below for how to make your first ActionPop.
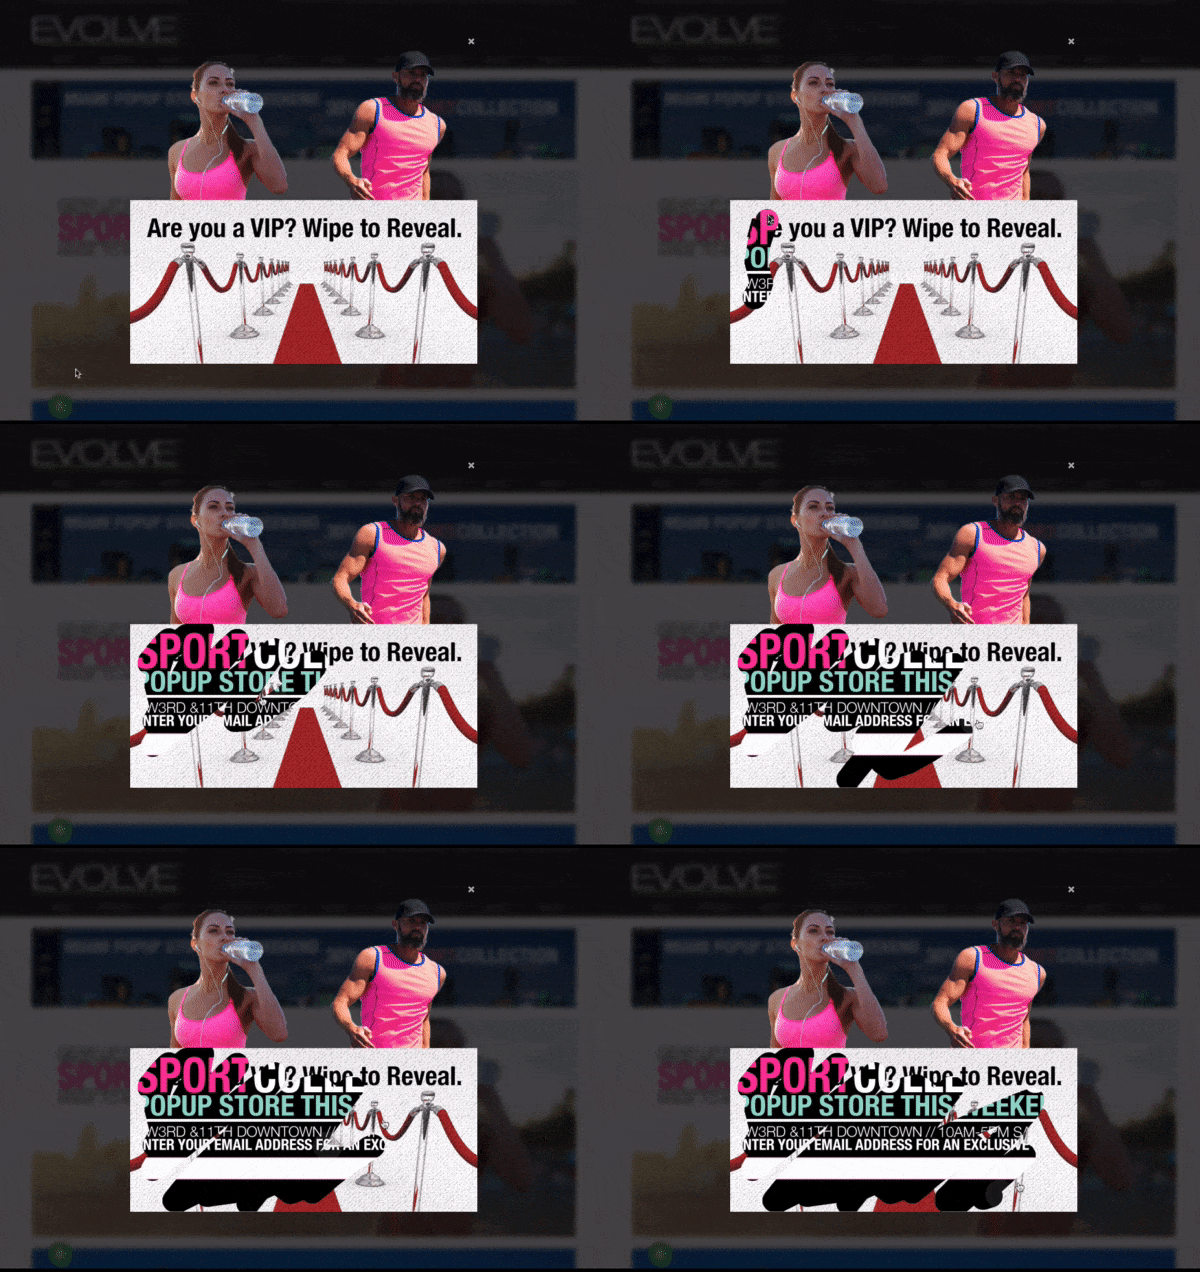
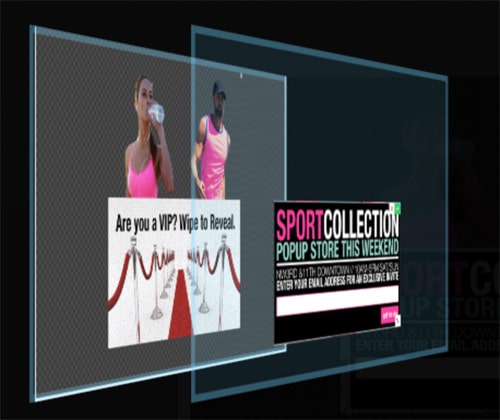
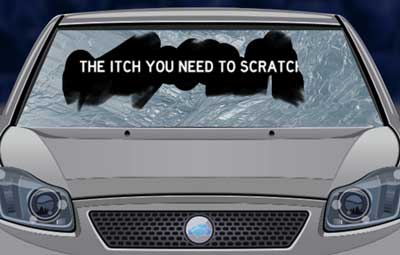
An ActionPop creates a layered effect on your modal, so your website visitor can “scratch” off a layer to reveal a hidden layer.
 |
 |
To create an ActionPop, just follow these simple steps
- Add an image in your modal
- Click the “Edit ActionPop” icon in the tool bar (it’s the magic wand icon next to the trashcan)

- You will be prompted to select the image you want to be “revealed”, and it will be placed on top of the modal.
- Move and resize the reveal image to line up its placement on the original image
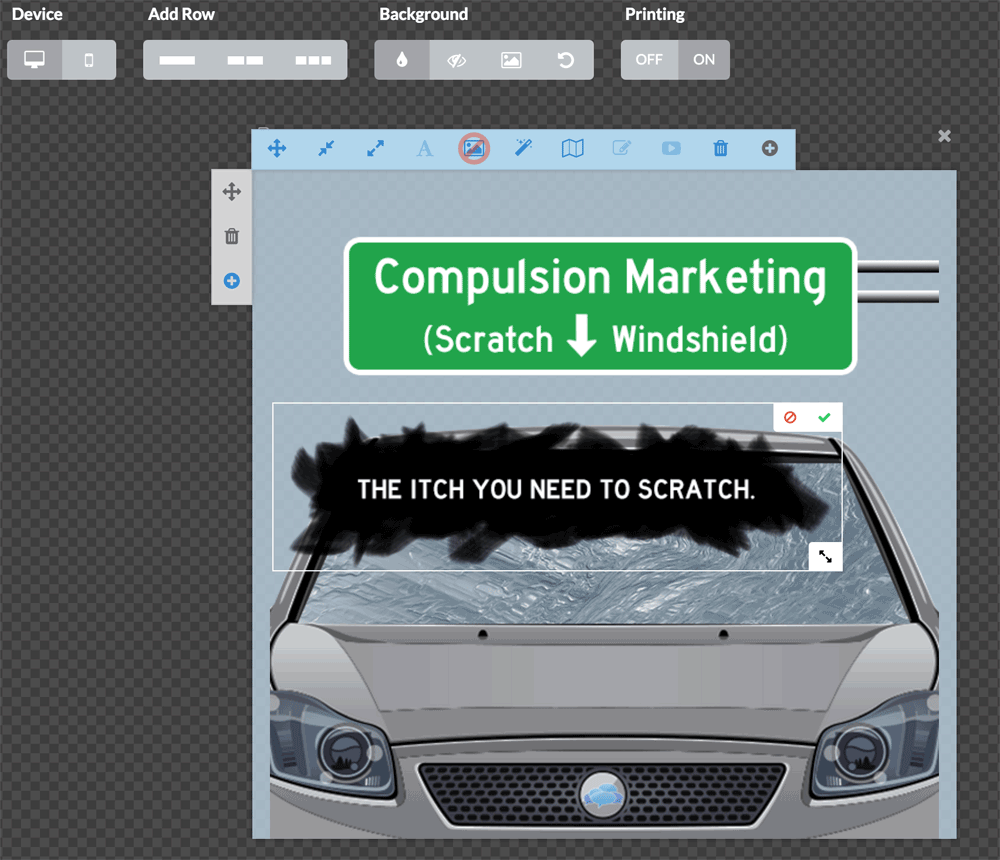
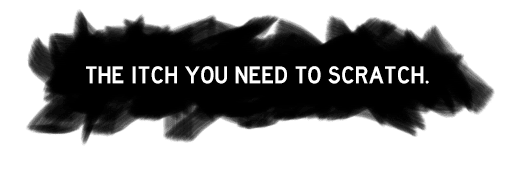
The shape of the reveal image defines the scratchable area. So if your reveal image is rectangular, the scratch area will be rectangular. You can use a PNG with alpha channel (also known as a transparency) to create scratchable areas of different shapes like a circle or even a jagged edge to give more of a “scratchy” feel.
 |
 |
Content Editor 2.0
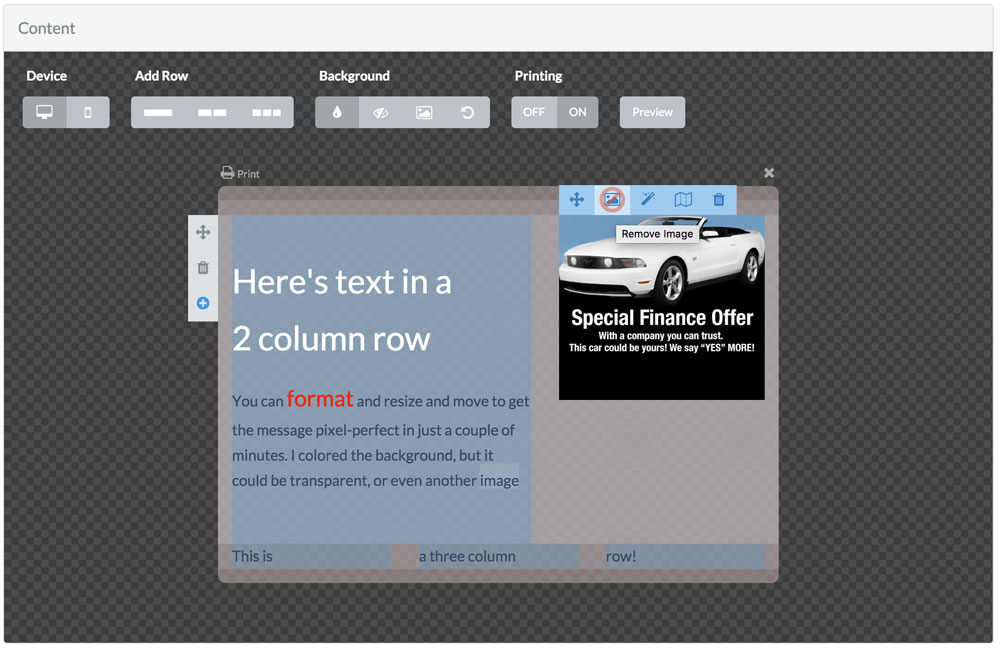
The new CloudEngage content editor supports multiple columns, text cut and paste, and an improved preview mode.
To create a modal with the new editor, follow these steps.
- Add a row by selecting the number of columns you want
- Click inside a column of the row you just created
- You’ll see a choice of content types to insert: text, image, form, or video. Click the icon to insert a content type into the cell

- The cell will change to that content type, including a content-specific toolbar. Edit the content as normal.

OPTIONAL
- Repeat the above with more rows with 1 or more columns
- Add a mobile version
- Select a different background for the entire modal
- Add a print button to the live modal
- Click Preview to see how the modal will look on your actual website
Notes
- Cut and paste will paste in the formatting of the original text. You can clear this formatting with the Formatting Eraser. Just click inside the text or select the text to make the Text Toolbar appear.

- You can adjust the size of an image by resizing its column. Just drag the edge of the column to change its size.
- You can rearrange the order of rows by grabbing the entire row and dragging it around inside the modal workspace.
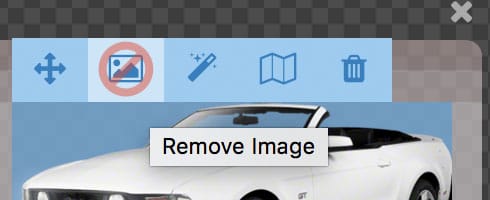
- If you want to replace an image, be sure to click the “remove image” icon rather than using the trashcan icon, which deletes the entire column.
Related Articles
CBT News: Dealership geo-fence marketing
Location, location, location! It is usually the difference between a shopper looking for an off road capable 4×4 or a city dweller in need of an eco-friendly Nissan Leaf.
CloudEngage Acquires AnswerDash, Leader in AI powered Self-Service Support
We’re thrilled to announce that we’ve acquired Seattle-based AnswerDash, expanding our suite of offerings to Include AI powered self-service support SPOKANE, Wash., AND SEATTLE, Wash., June 23rd, 2020. Our entire team recognized the fit with AnswerDash was terrific....
Subscribe & Follow
Join Our Newsletter
Subscribe to our email list for news and offers. Follow us on social media.
