How To Boost Your Newsletter Signups
Create a popup with an intake form that will drive subscriptions at the right moments and forward the responses right to your email.
“The University of Alberta had witnessed an increase in newsletter sign-ups when they introduced the signup form via a pop-up: from 1-2 sign ups a day they rose to 12-15”
Ingredients:
- Engaging and informative newsletter content check this article for tips!
- CloudEngage Popups with Forms
- (Optional) Gmail
Recipe:
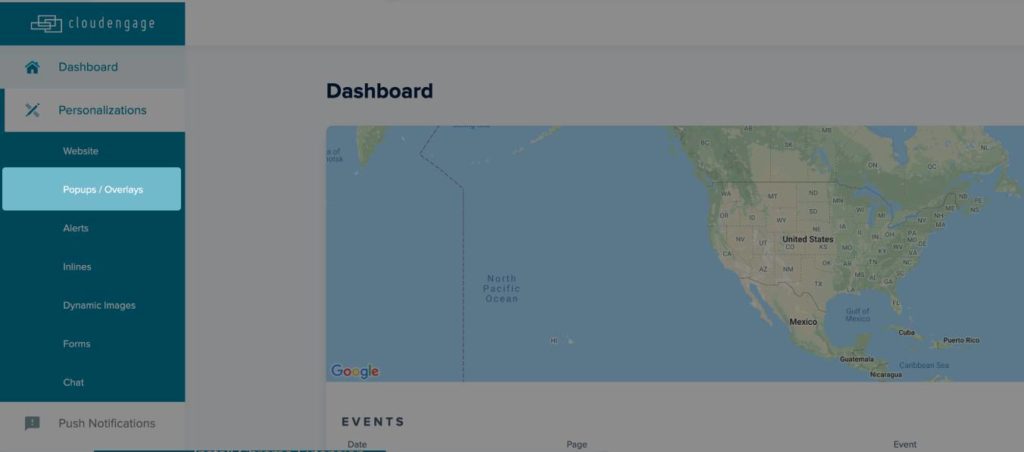
Under the Personalizations menu item, choose Popups/Overlays and begin creating a popup for collecting newsletter subscribers.
![]()
Give the popup a descriptive name like “Newsletter Signup”.
(This is only for you and your team.)
Select the site that you want it to display on. (Just the overall domain for now, you can set the specific pages later on…)
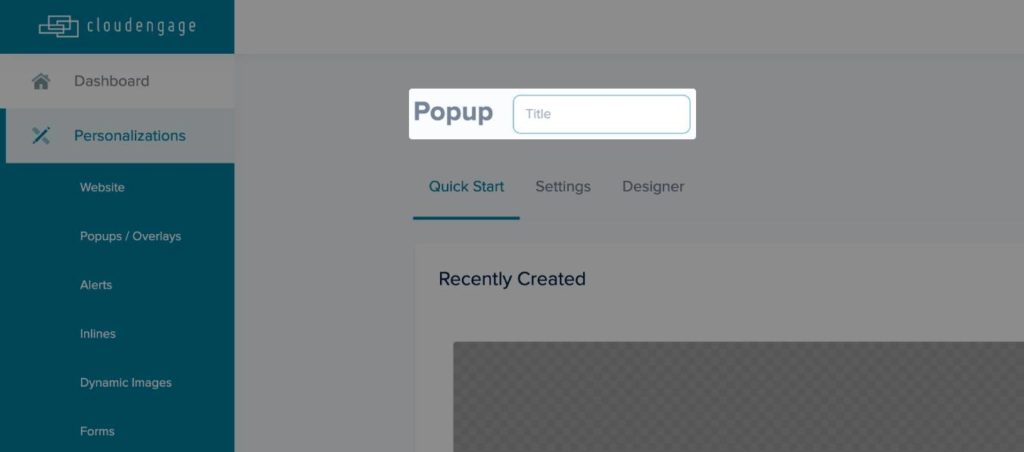
The popup is set to “Active” by default. If you’d prefer you can set it to “Inactive”, save it and then switch it back to “Active” when you are ready to publish it.
(Optional) Select “Predefined Templates” > Choose a background image.
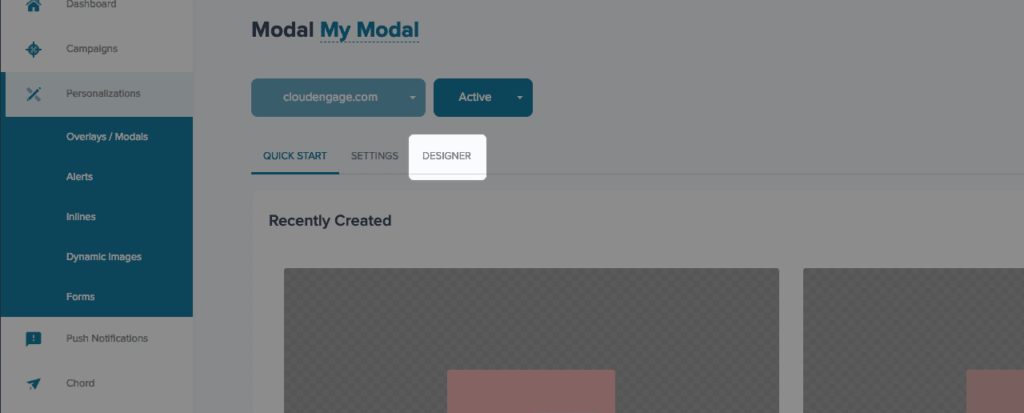
Select the Designer tab. Here you can choose whether you want to do edit a popup for Desktop or Mobile.
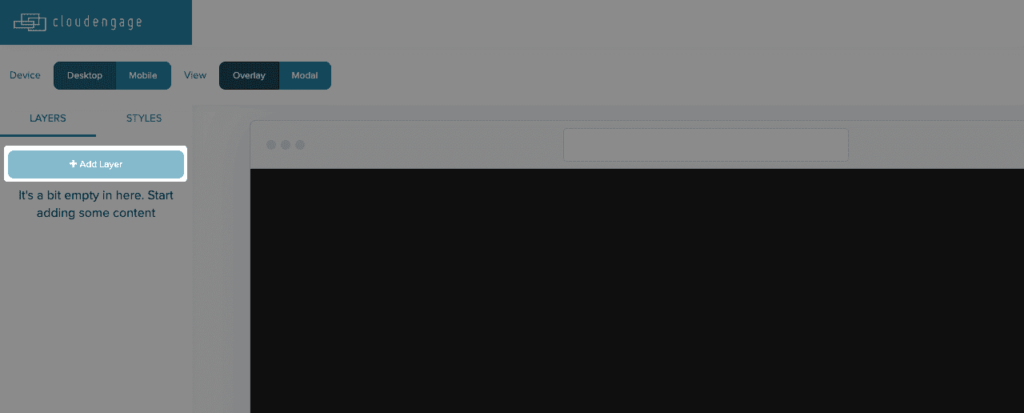
Select the Layers icon from the left-side menu and use the + button to add a form layer.
In the following window, select Create New then enter a description to identify this form. (No one will see this but your team.)
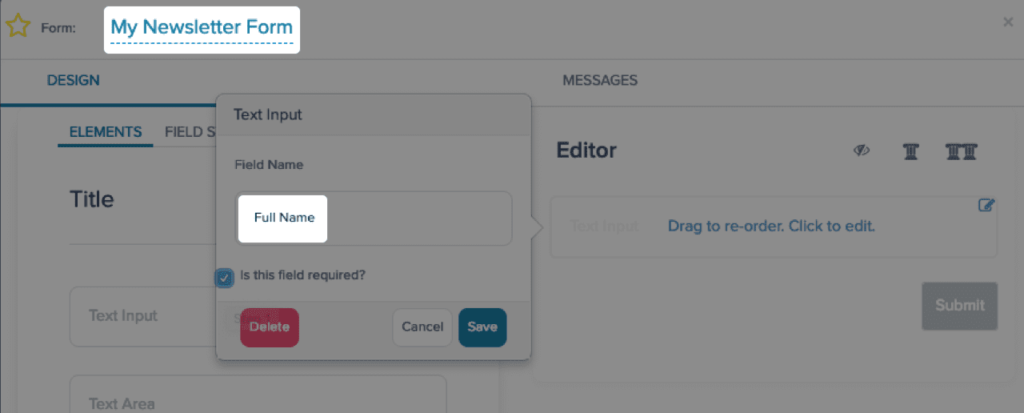
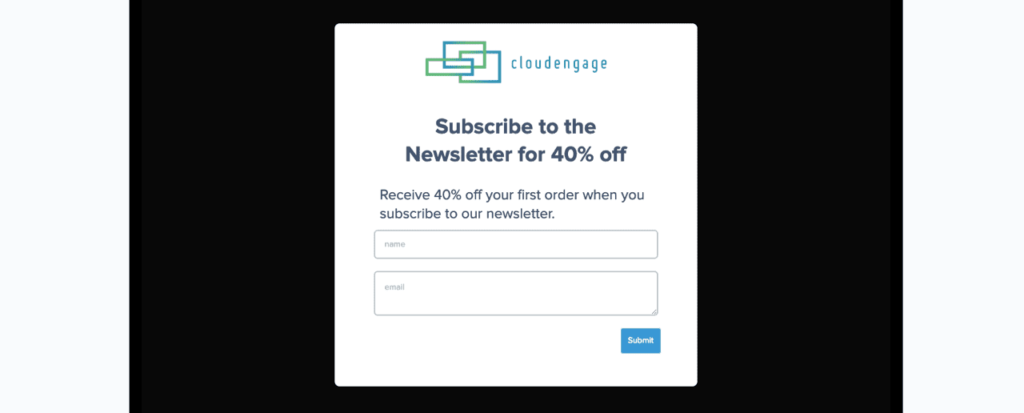
Drag the Text Input element and place it on the editor and type Full Name for the placeholder text. Add another field for Email and be sure both have “Is this field required?” checked.
You can use the column buttons to choose whether your format is one or two column.
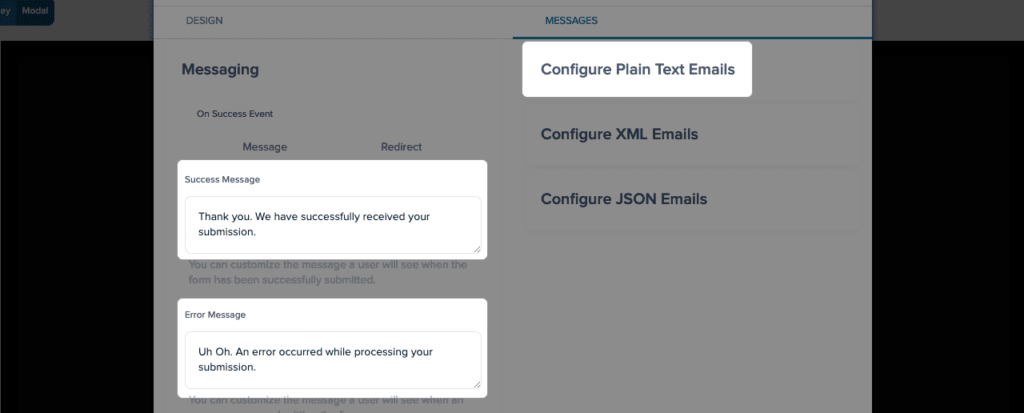
Move over to the Messages tab and type out both the success and error messages that will be displayed when a form is submitted.
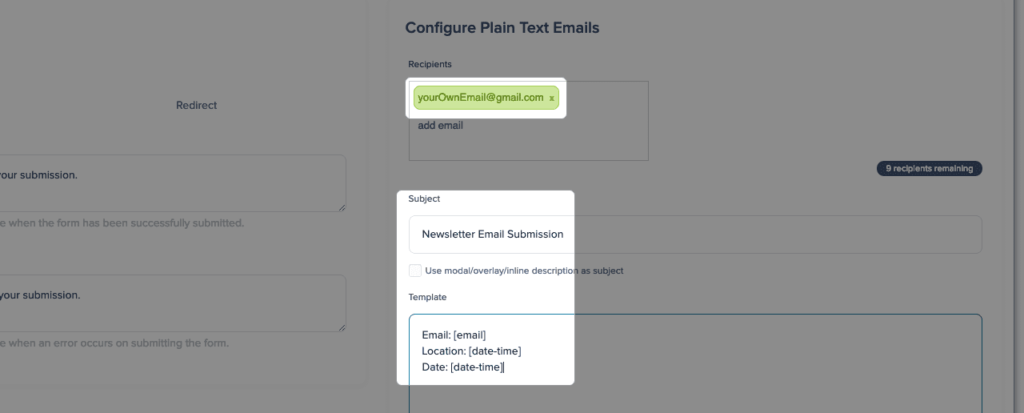
To forward the results enter an email to which results will be forwarded. Here you’ll have three options, but let’s just go with the first for now:
Configure Plain Text Email:
Pro tip: Many email services like Gmail allow you to filter your inbox by the email subject. You can then organize it all in a folder or you can even make it so that your primary inbox doesn’t get hit every time someone signs up for your newsletter. In addition to the email, CloudEngage allows you to take note of what state and municipality, date and time the submission came from.
The following values are at your disposal. Simply clicking them within the form builder will insert the proper text into the email template.
- date and time: [date-time]
- location of submission: [geolocation]
- email address: [email]
What this does is create a format for the automatic email you will receive every time the form is subscribed. For example, it could read:
date and time: 2017-06-13T23:48:17+00:00
location of submission: Portland, Oregon. United States
email address: [email protected]
Set the Subject to something descriptive and unique like “Newsletter Signups”.
Pro tip: You can use this unique subject line in your email box to create a distinct folder – in Gmail for example – so that you can easily retrieve these emails. More on this at the end of this tutorial.
Finish up by selecting the Insert button.
Now you can add other layers of text and images.
Pro Tip: You can move things from the background to the foreground by simply sliding the layer up or down the layer menu.
Settings: We are almost done… but this part is important.
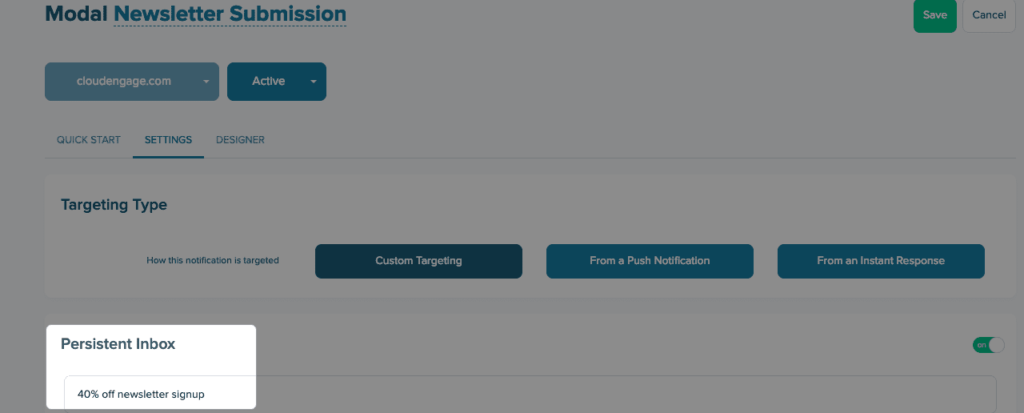
Here is where the CloudEngage platform really shines. These settings are powerful tools which will allow you to hone in on the exact level of presence that you want your pop-up to have.
First, give the popup a name the user will see in Persistent Inbox. (f.e. “40% off newsletter signup”) Then, give the campaign an overall time frame with Display Schedule.
Do you want it to appear in certain locations only? – Setup Target Geography.
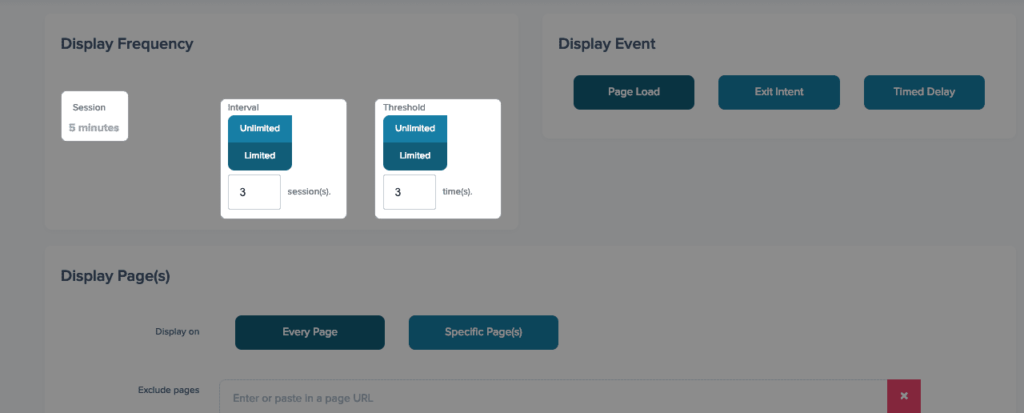
Under Display Page(s) you can choose to display on all the pages of your site or just the conversion page. Or any page for that measure.
Pro Tip: It might be more elegant to have the pop-up on a page further down the conversion funnel, that way the user has already shown some buy-in before you reach out to them with a request.
Additionally, you can set it to display when someone is indicating they want to exit the page, on page load, only on the weekends, only when it’s overcast, or even when someone’s browser is set to Spanish.
Let’s adjust the Display Frequency so that every third 5-minute session the pop-up will appear, but no more than 3 times total for that user.
Done! Now you can set your popup Status to Active and let your website start building your newsletter community. Now it’s all about creating quality content and getting on a regular schedule.
Pro-tip: In Gmail go to Settings > Filters and Blocked Addresses > Create a new filter.
Set the Subject for the filter the same as you set earlier (f.e. “Newsletter Signups”)
Click “Create filter with this search” which will allow you to have a neat folder for all the signups based on that subject line.
IMPORTANT NOTE:
In “Designer” you set up popup/overlays for Desktop and Mobile. If you created a popup for desktop it will not appear on mobile unless you create a mobile version. To do so click on “Mobile” and create the unique design for that viewport. It is advised to use overlays instead of Popups for mobile, because Popups will take up to much screen real estate and could hurt your search engine rating.
Related Articles
CBT News: Dealership geo-fence marketing
Location, location, location! It is usually the difference between a shopper looking for an off road capable 4×4 or a city dweller in need of an eco-friendly Nissan Leaf.
CloudEngage Acquires AnswerDash, Leader in AI powered Self-Service Support
We’re thrilled to announce that we’ve acquired Seattle-based AnswerDash, expanding our suite of offerings to Include AI powered self-service support SPOKANE, Wash., AND SEATTLE, Wash., June 23rd, 2020. Our entire team recognized the fit with AnswerDash was terrific....
Subscribe & Follow
Join Our Newsletter
Subscribe to our email list for news and offers. Follow us on social media.