How To Target Geography
The geography targeting tool allows you to quickly select or create a region within which a user of your website will see the campaign, modal, push notification or alert it’s paired with.
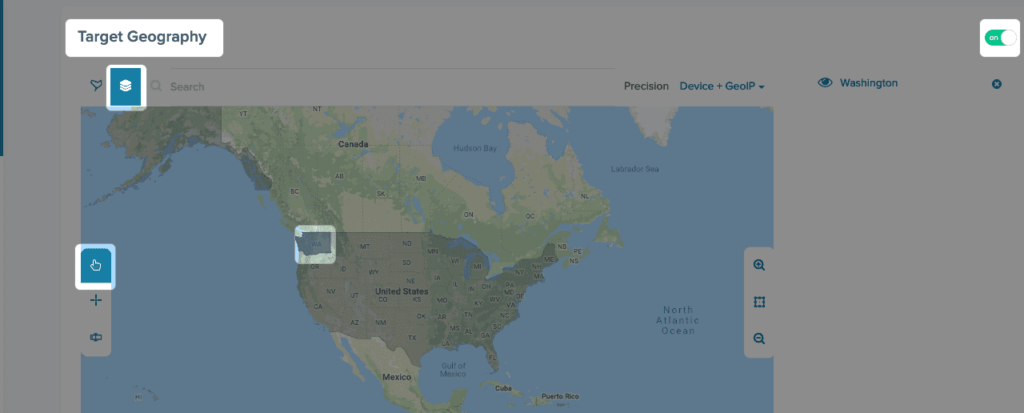
The quickest way to select a region is to use Region by selecting its icon in the top left of the map area and using the Select Tool which is active by default, then select a state.
To create a custom region, zoom in to the desired area, select the Geofencing icon at the top-left of the map. Then, select the Fencing Tool and begin clicking a fence around the preferred zone and finish back at the beginning, once the region is set make sure to label it.
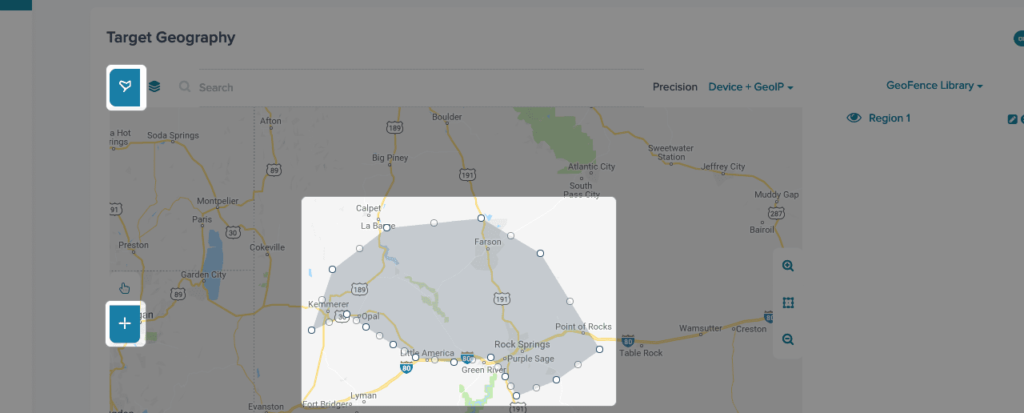
You can make several fences to use in conjunction.
Additionally you can easily look for regions by searching their name or zip code.
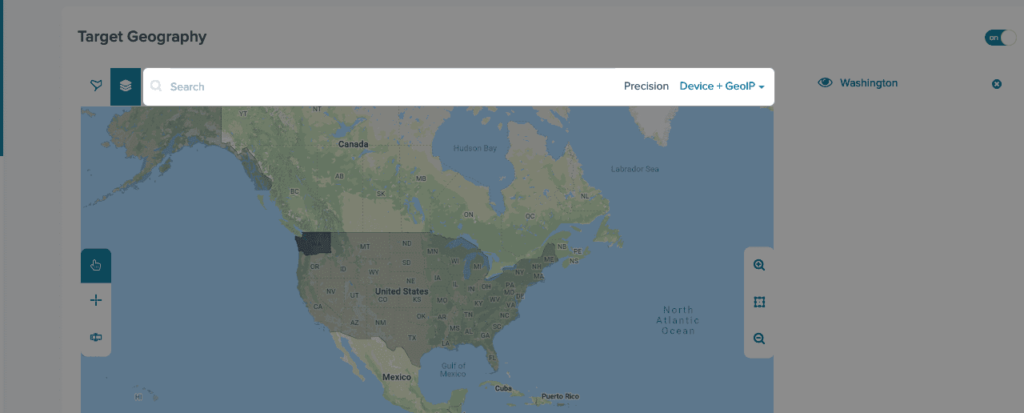
You can set the precision of the locator to Device + GeoIP, Device Only, or GeoIP Only. GeoIP refers to the method of locating a computer terminal’s geographic location by identifying that terminal’s IP address. Device refers to the GPS functionality of the user’s device.
Related Articles
CBT News: Dealership geo-fence marketing
Location, location, location! It is usually the difference between a shopper looking for an off road capable 4×4 or a city dweller in need of an eco-friendly Nissan Leaf.
CloudEngage Acquires AnswerDash, Leader in AI powered Self-Service Support
We’re thrilled to announce that we’ve acquired Seattle-based AnswerDash, expanding our suite of offerings to Include AI powered self-service support SPOKANE, Wash., AND SEATTLE, Wash., June 23rd, 2020. Our entire team recognized the fit with AnswerDash was terrific....
Subscribe & Follow
Join Our Newsletter
Subscribe to our email list for news and offers. Follow us on social media.